

HOW TO MAKE A BERRY CELL

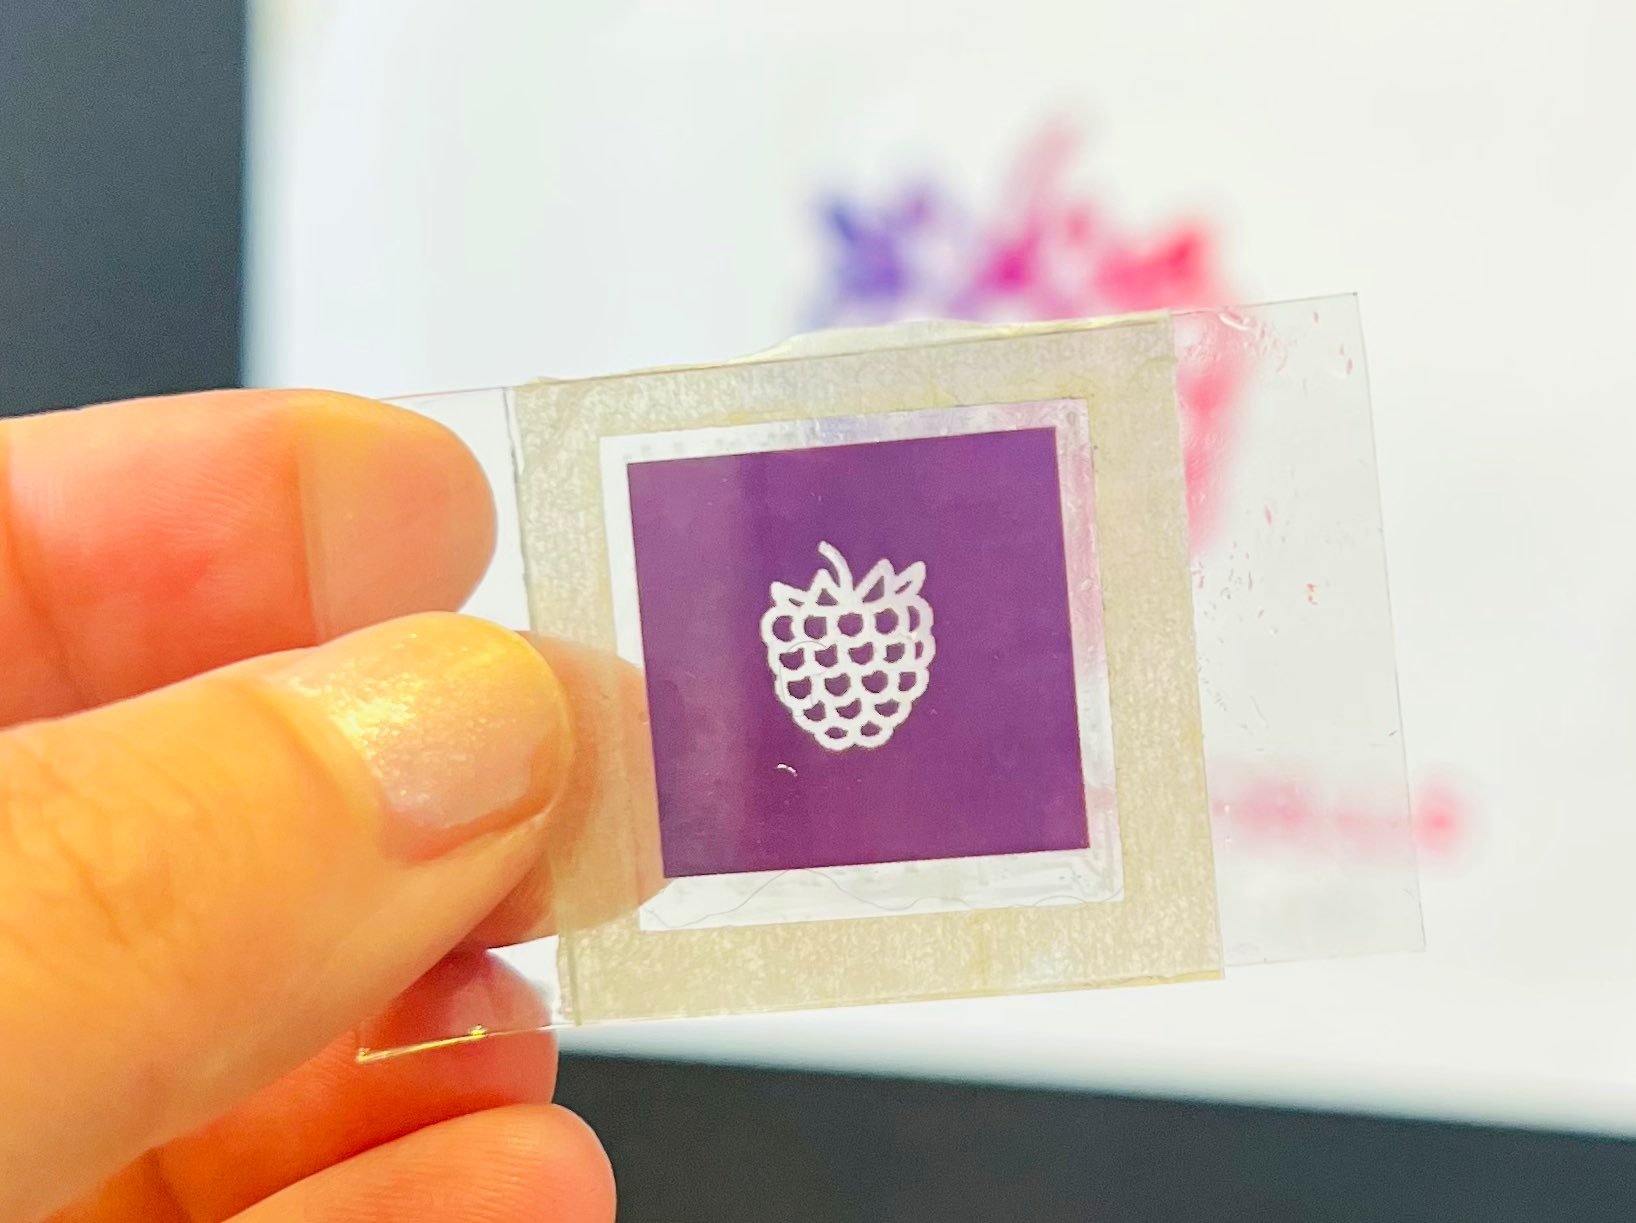
HERE’S WHAT YOUR FINISHED BERRY CELL SHOULD LOOK LIKE…
STEP 1

PREPARING THE WORKING ELECTRODE
Take 2 or 3 raspberries and put them in the crystallising dish.
Using a spatula or glass rod, crush the raspberries to release the berry juice.

Place your ‘working electrode’ in the crystallising dish with the crushed raspberries, making sure the entire white titania layer is covered in berry juice.
Leave it in the berry juice to soak for 5-15 minutes. The longer you leave the cell in the dye, the better it will work!
STEP 2

Preparing the ‘counter electrode’
Use a pencil to colour in the conducting side of the glass. Be sure to cover all of the conducting side of the glass in pencil.
Once you’ve done this, carefully remove the tape cover from the glass slide.
ADDING THE SPACER
Place a spacer of tissue paper on top of the coloured-in glass.

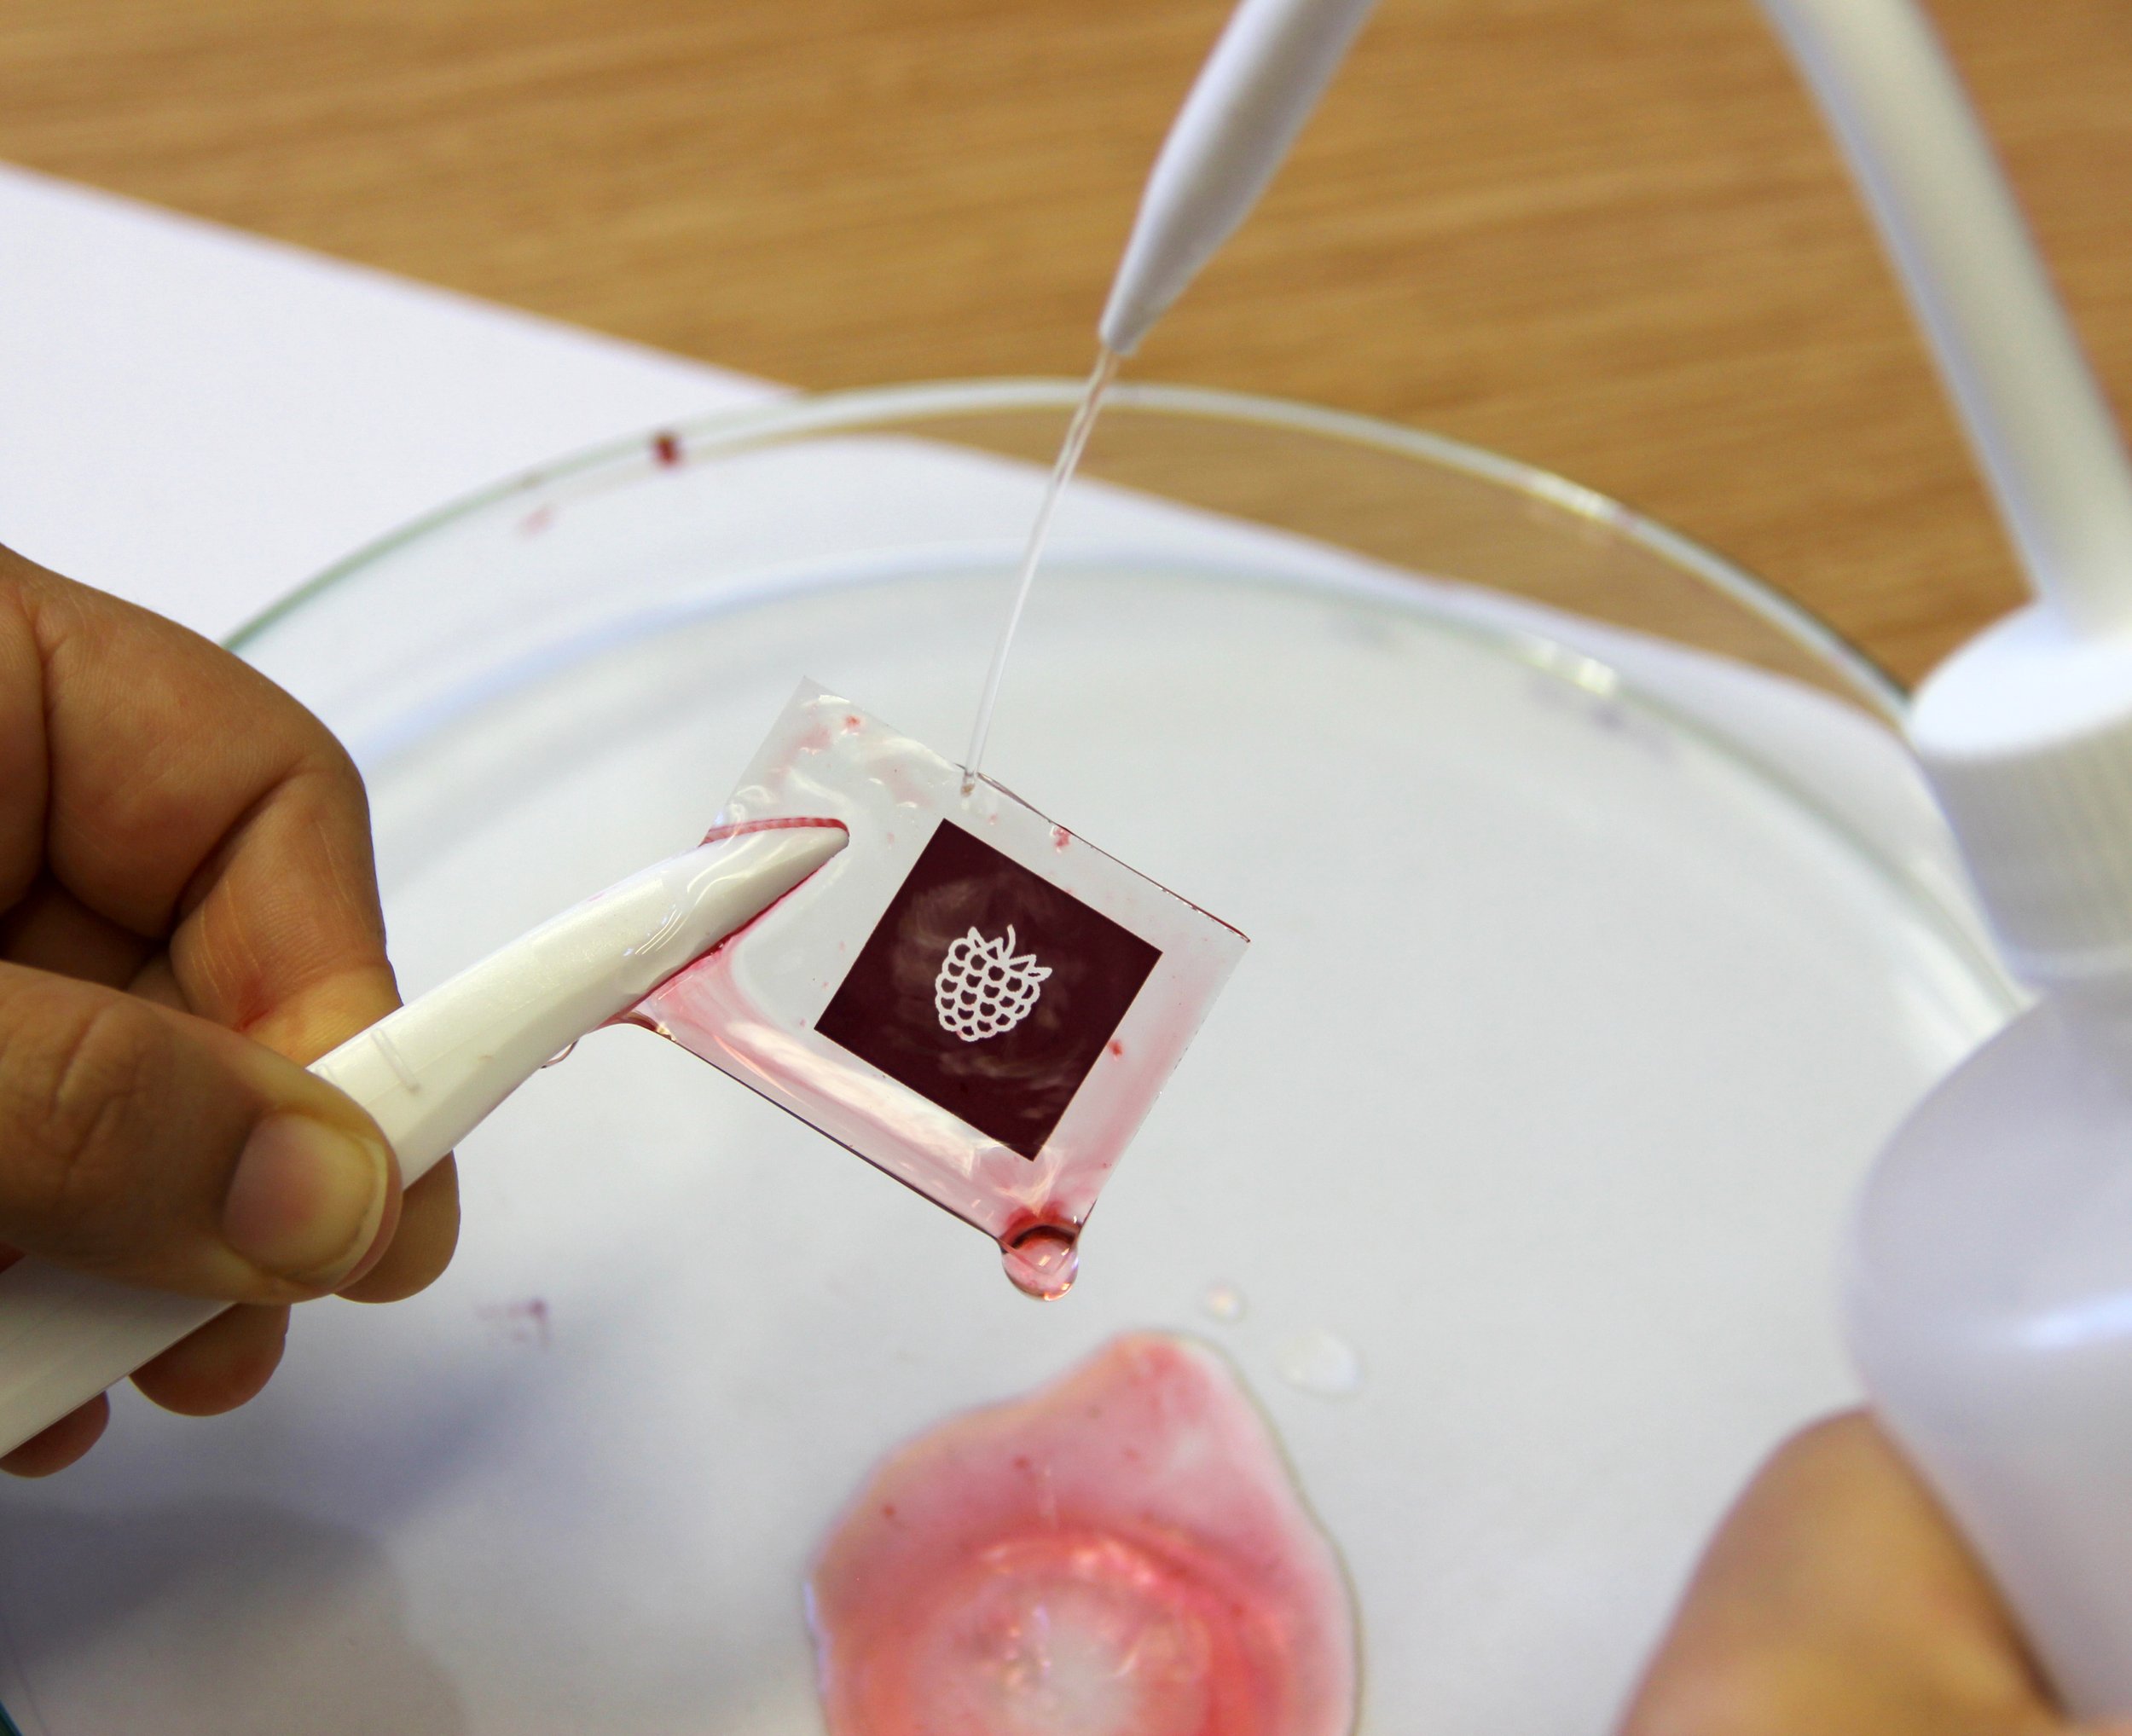
ADDING THE IODINE SOLUTION (ELECTROLYTE)
Using a pipette, take up a small amount of iodine solution.
Place 2 drops of iodine solution on top of the spacer on your working electrode.
STEP 3
REMOVING WORKING ELECTRODE FROM DYE BATH
Use tweezers to lift the ‘working electrode’ out of the dye bath, being careful not to scratch the titania layer.
Rinse any excess dye from the working electrode by dipping it in the water beaker.

DRYING THE WORKING ELECTRODE
Gently pat the glass slide with a paper towel to dry it. Don’t rub the glass slide as this will remove the titania layer.

ASSEMBLING THE BERRY CELL
Take the counter electrode and place it graphite side down on top of the working electrode, so that the graphite and the dyed titania are touching.

IMPORTANT!
The position of the slides should be slightly offset (as in the photo) as this will allow you to connect crocodile clips in the next step.
STEP 4

TESTING THE BERRY CELL
Once you’re happy with the position of the slides, carefully place a crocodile clip on each side of the long edges of the cell to hold it together. ‘W’ to working electrode and ‘C’ to counter electrode.
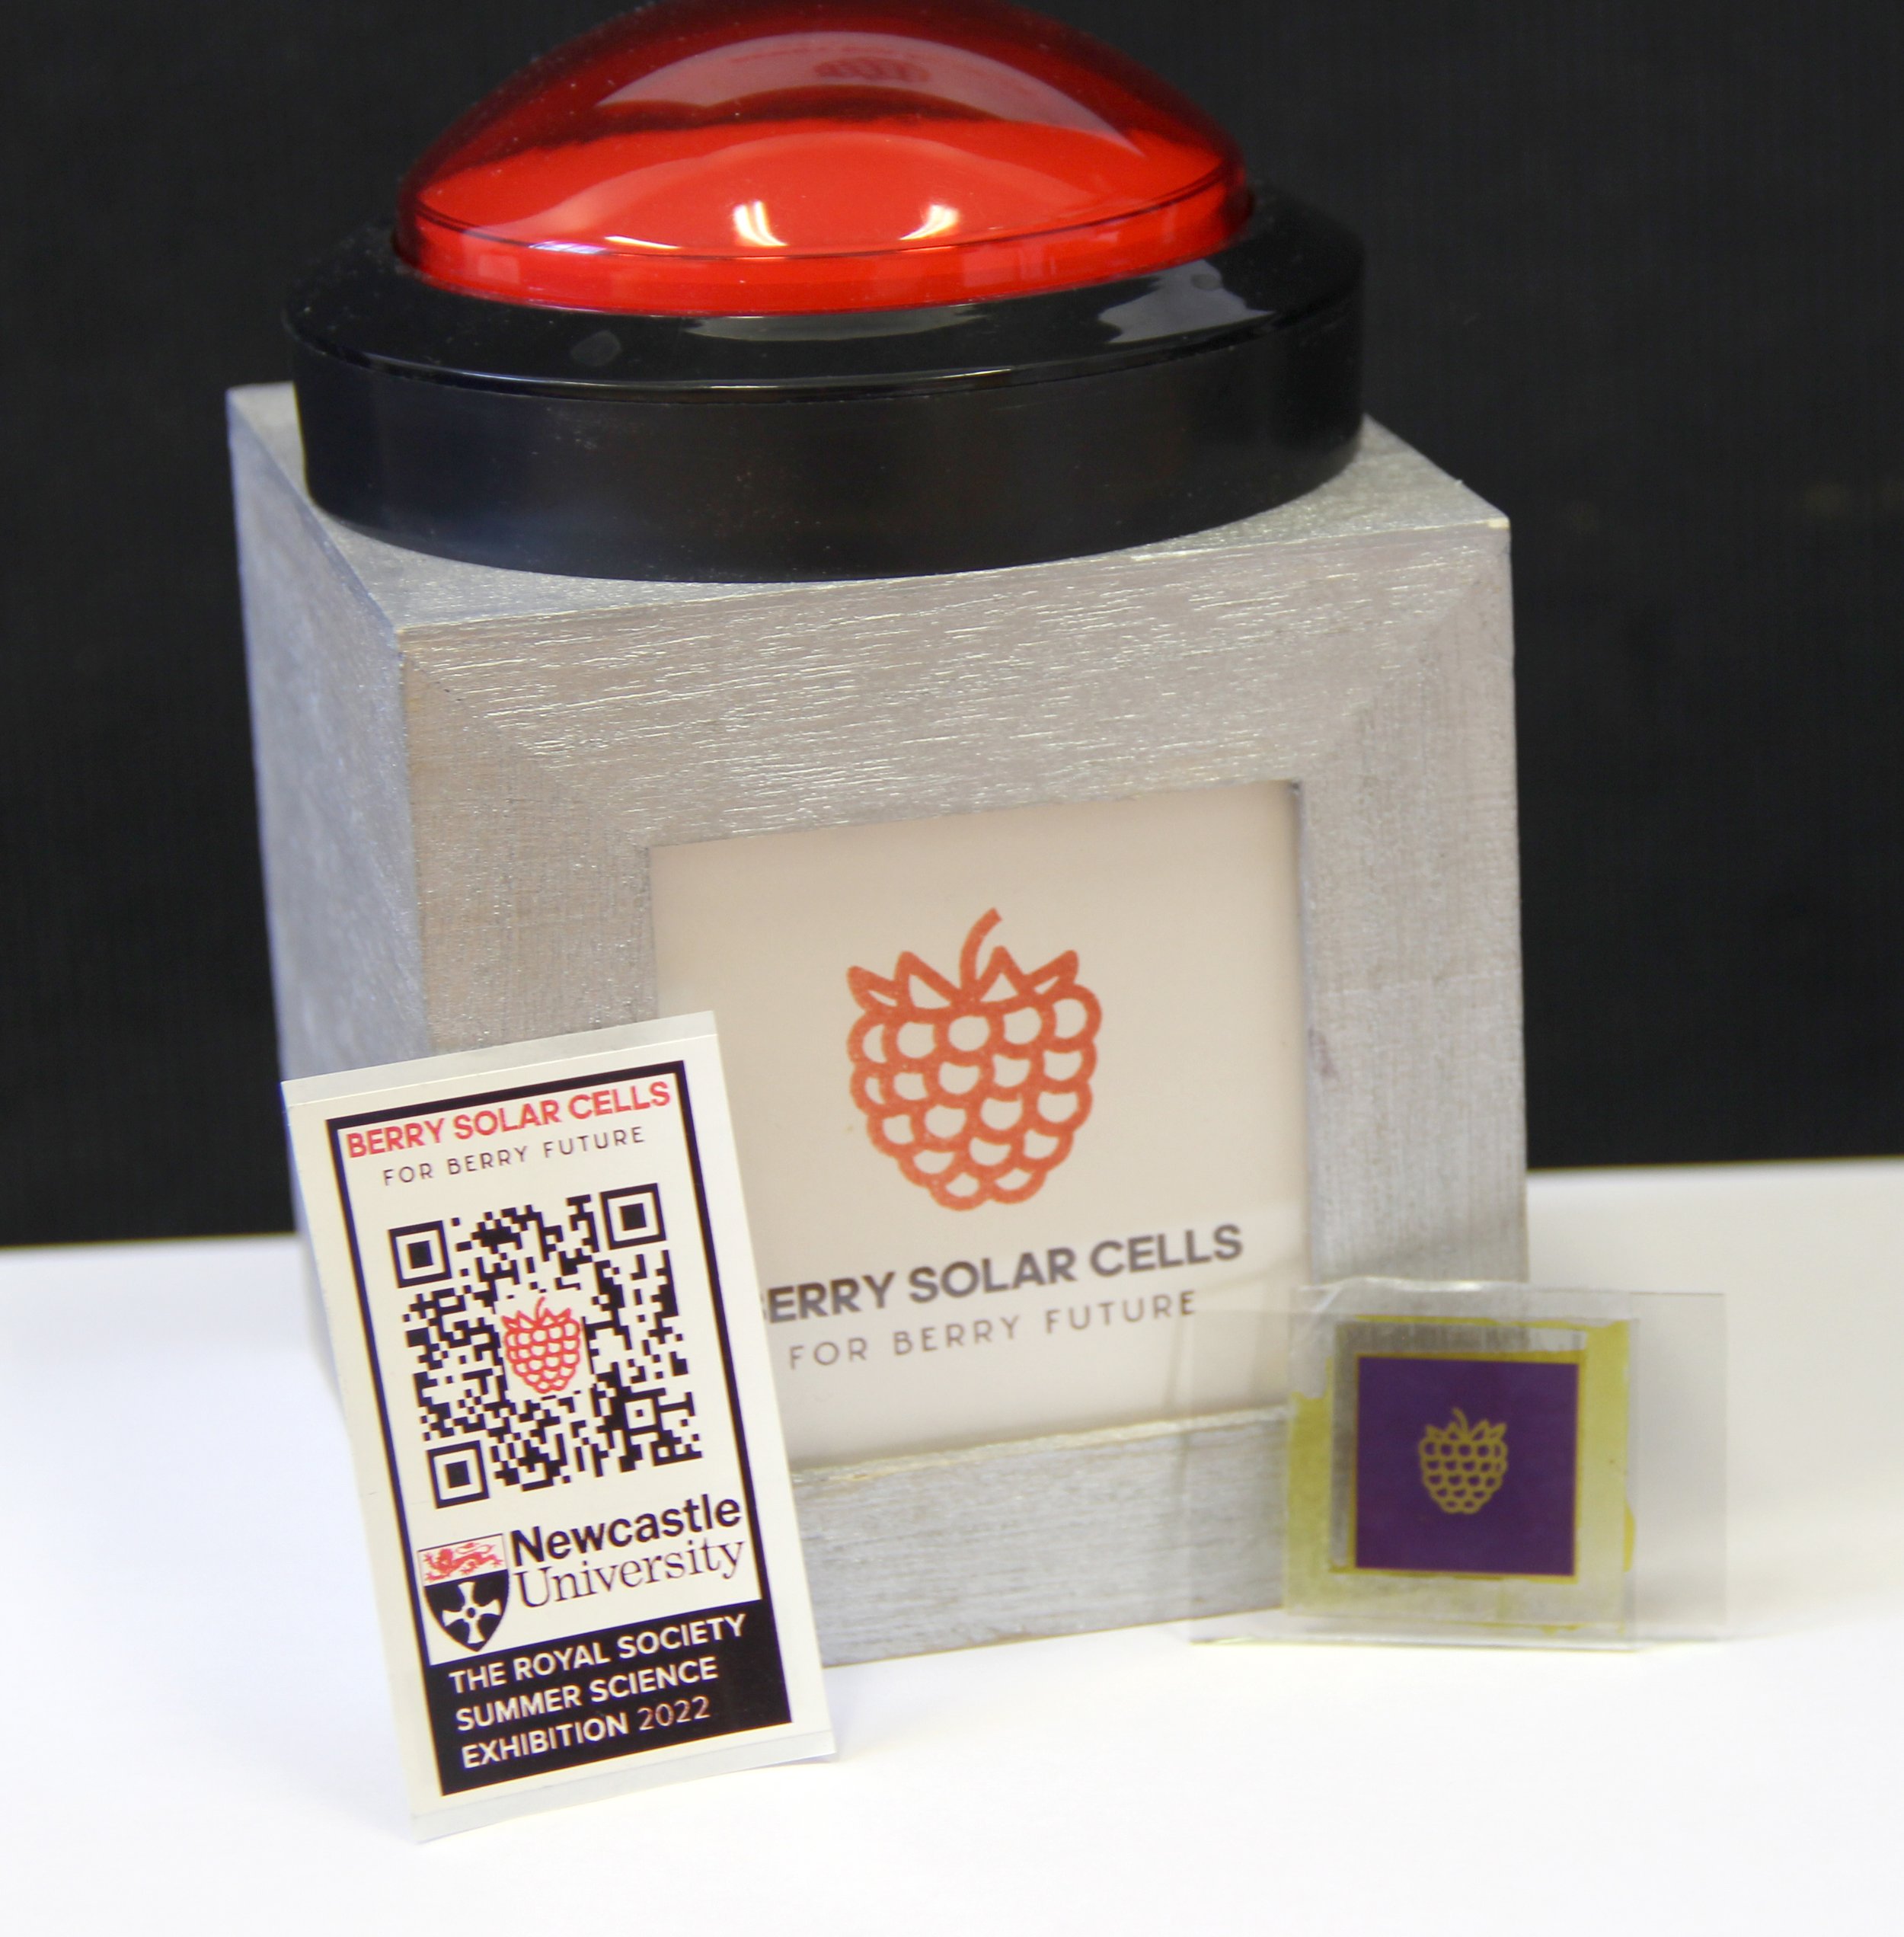
Once your Berry Cell’s connected, you can test it by pressing the red Berrybutton.
STEP 5
GETTING YOUR RESULTS
If it’s working correctly, it should print a sticker with the Current-Voltage Characteristics and the Power Output !

CONFIRMING YOUR RESULTS
Use the QR code to see your tweet!
WHAT MATERiALS DO I NEED?
GENERAL EQUIPMENT
1 x beaker with water
1 x dish for berries
1 x pipette for electrolyte
Spatula
Tweezers
Graphite pencil
CHEMICALS & SPECIAL EQUIPMENT
Working Electrode: 1 slide FTO with printed TiO2 (2x2cm)
Counter Electrode: 1 slide FTO with double sided tape
Small piece of paper tissue (spacer)
Iodine electrolyte
2-3 raspberries
Berrymetre
Berrybutton